Help · Guide 3 of 8
Write the learning content
From an empty unit to an approved course, in ten steps: set the learners, add your assessment, build, clear the checks, add pictures, accept the design, check the facts, approve, export.
About 15 minutes of waiting, then 30 to 60 minutes of your review
Watch it
Step 1: 1. Open Learning content
Open the unit and press step 02, Learning content. Everything below happens on two steps: 02 Learning content and 03 Check.
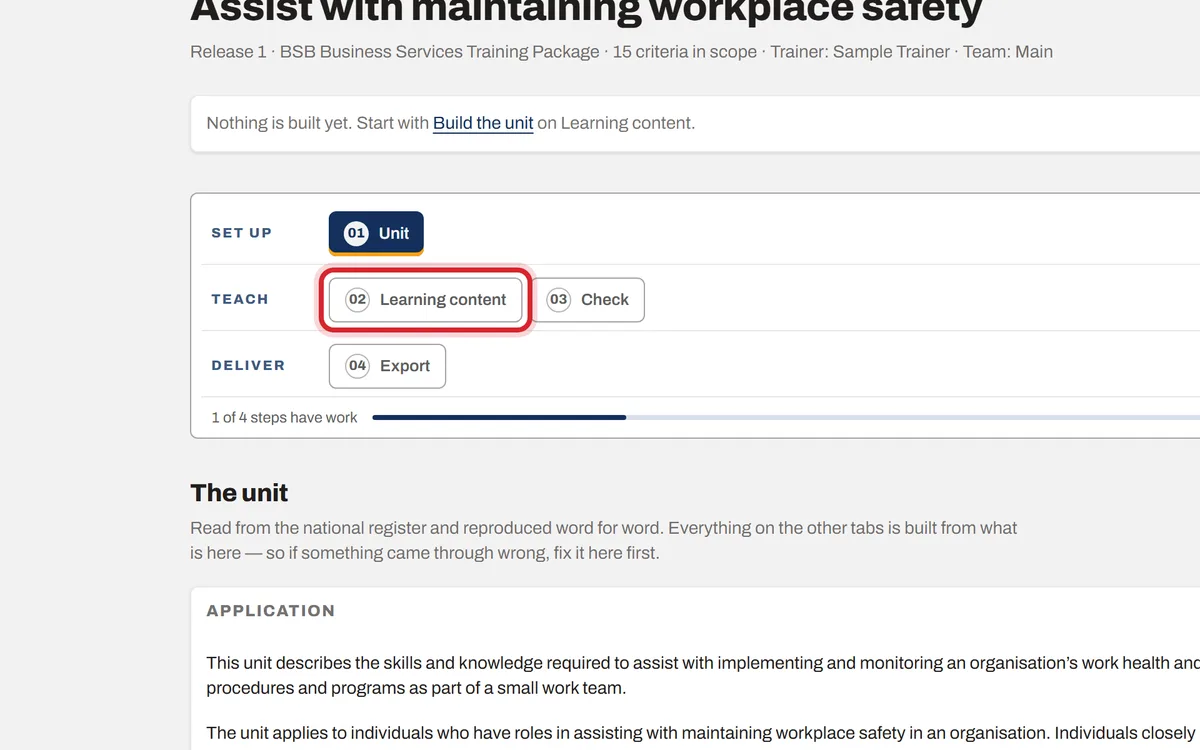
Step 2: 2. Set the learners
Choose who the learners are: workplace learners (apprentices, adults) or school students (Year 11 and 12, VET in Schools). Press Save. Every page is written for these learners, so the build will not start until you choose. School students get shorter sentences and more checks.
Step 3: 3. Add your own assessment (optional, but do it before you build)
If your RTO already has an assessment for this unit, open step 03, Check. Under Your own assessment, upload the question paper, practical task and marking guide. Tick the box to confirm the files hold no student work or names, then press Use this assessment. The course is then written to teach everything your assessment asks, without copying your questions or giving away the answers.
Step 4: 4. Build the course
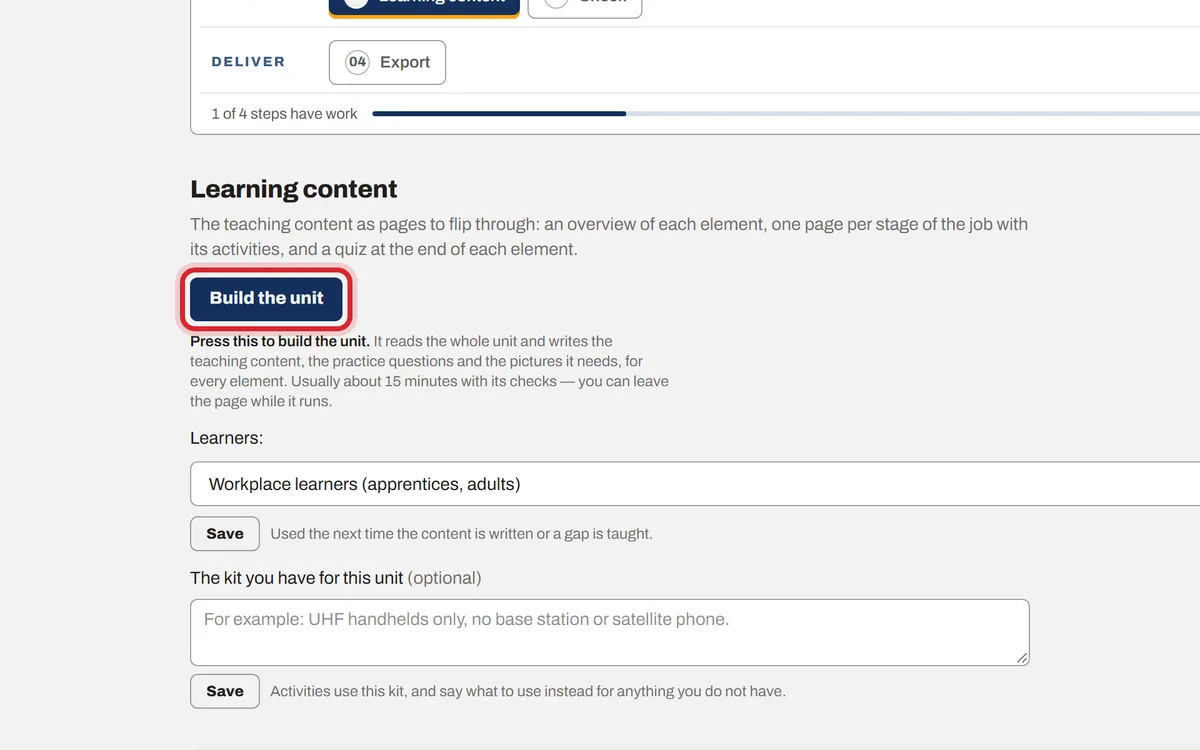
Back on step 02, press Build the unit. It writes a page for each stage of the job, the activities, the worked examples and the practice questions, then checks its own work and repairs what it can. You can leave the page; it keeps going.
Step 5: Your checklist from here: the step tabs
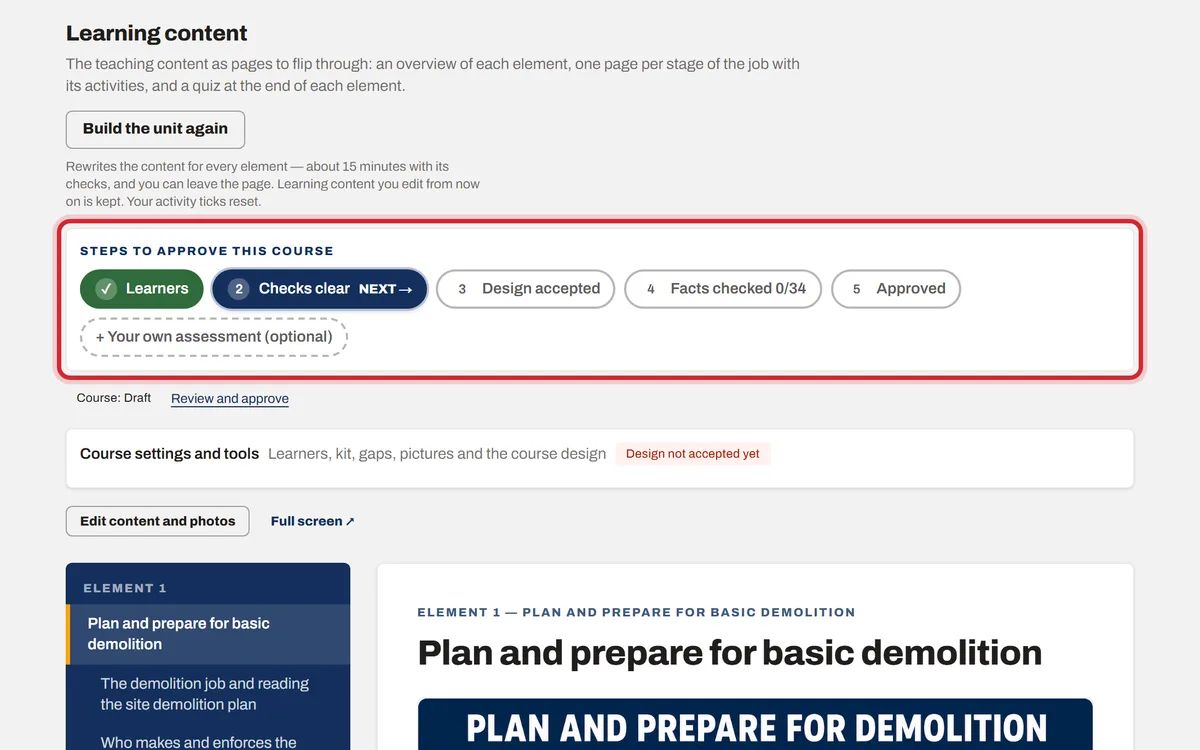
Everything after the build is tracked in a row of tabs at the top of Learning content and Check: 1 Learners, 2 Checks clear, 3 Design accepted, 4 Facts checked, 5 Approved. A done step is green with a tick; the next one is navy and says Next →. Click a tab to go straight to where that step is done. The same list, with names and dates, is under Review and approve at the bottom of Check. Work from left to right. The steps below take each tab in turn.
Step 6: 5. Clear the checks
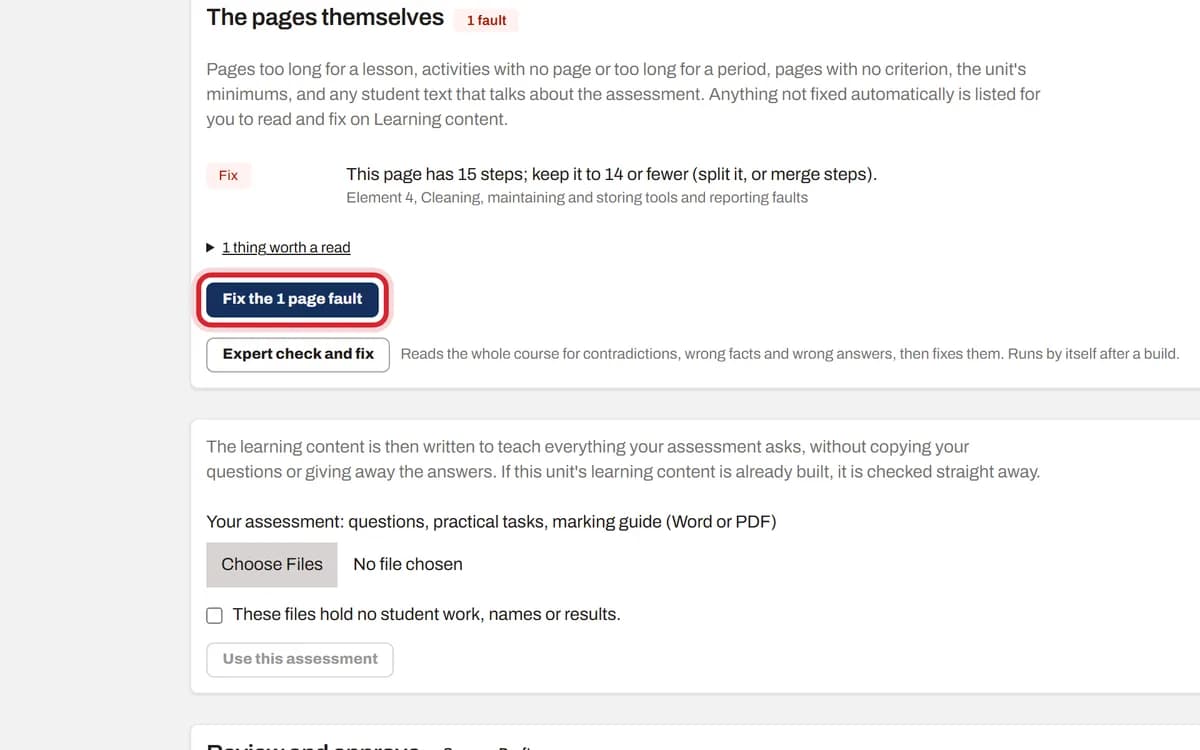
Open step 03, Check. The top part shows every requirement of the unit and the page that teaches it. If anything says Not taught, press Add teaching for the not taught (under the list). It writes the missing teaching from the unit, adds it to the course and checks again; about three minutes. Below that, The pages themselves lists any faults. Press Fix the page faults and wait a minute or two. When nothing is left, it says No faults found, tab 2 Checks clear turns green and the course shows Checked.
Step 7: 6. Make the pictures (optional)
On Learning content, open Course settings and tools (above the course) and press Make pictures for … pages. One picture for every page that has none. See the guide Add pictures and edit the course.
Step 8: 7. Accept the design
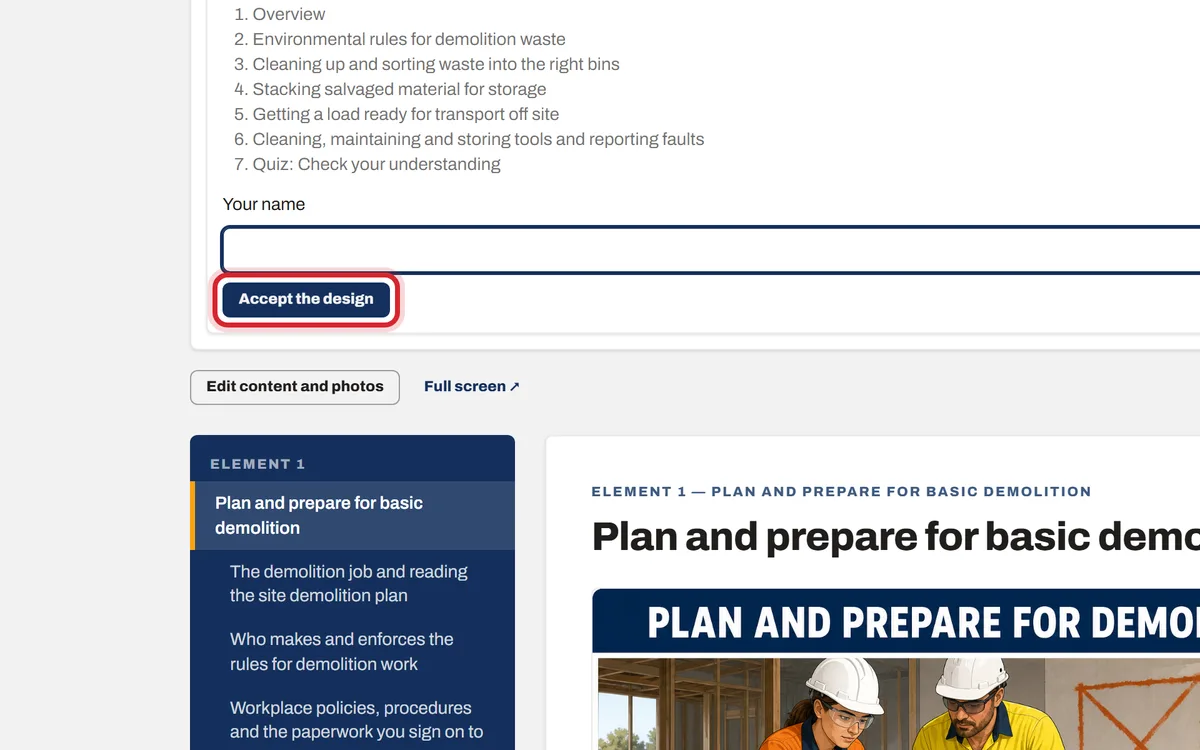
Click the tab 3 Design accepted (or, under Review and approve, (open the course design)). It opens Course settings and tools on Learning content at The course design. Read the list of pages for each element. If that is how you would teach the unit, type your name and press Accept the design.
Step 9: 8. Check the facts, page by page
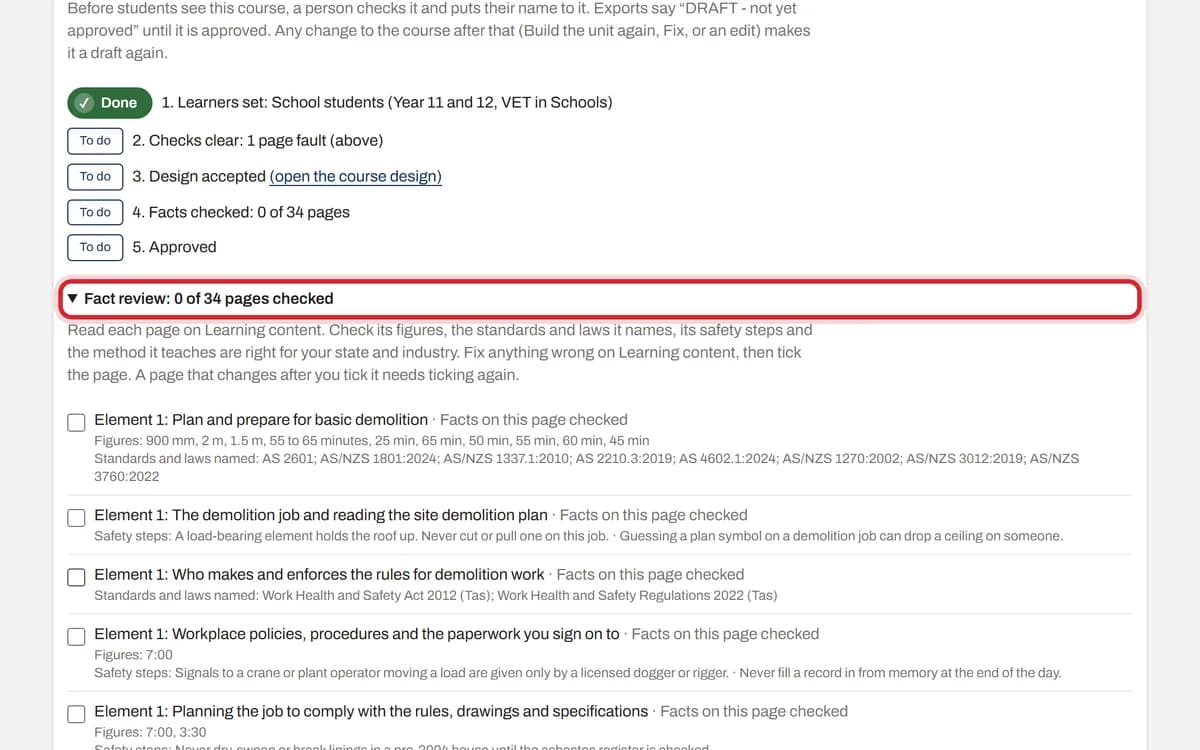
Back on step 03, Check, open Fact review. Each page lists its figures, the standards and laws it names, and its safety steps. Read the page, check these are right for your state and your industry, and tick Facts on this page checked. Type your name and press Save the fact review. You can save part-way and come back.
Step 10: 9. Approve the course
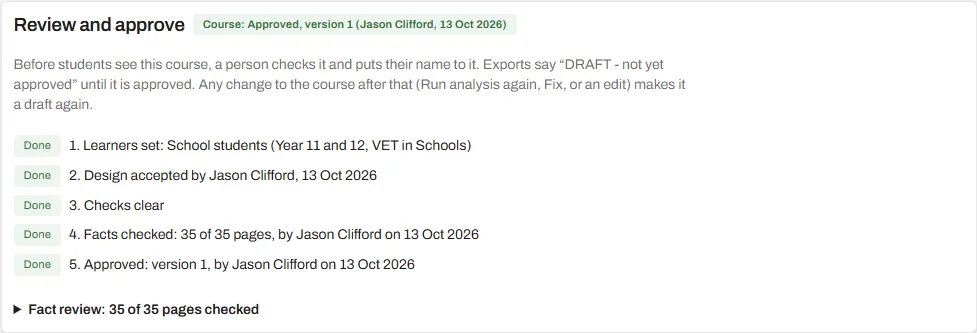
When every page is ticked, type the approver’s name and press Approve the course. If anything needs a trainer’s judgement (a requirement not taught or flagged for review, an expert finding, a wrong fact or safety step), For you to check lists each one above the button, with where it is and what was not found: tick each one to say you have read it and accept the course with it, or fix it first. Style faults such as long sentences stay listed on Check and need no tick. The Session plan for each element opens with the same list, anything not taught first. Approving records the name, today’s date, a version number and each item ticked. All five lines of Review and approve now say Done.
Step 11: 10. Export
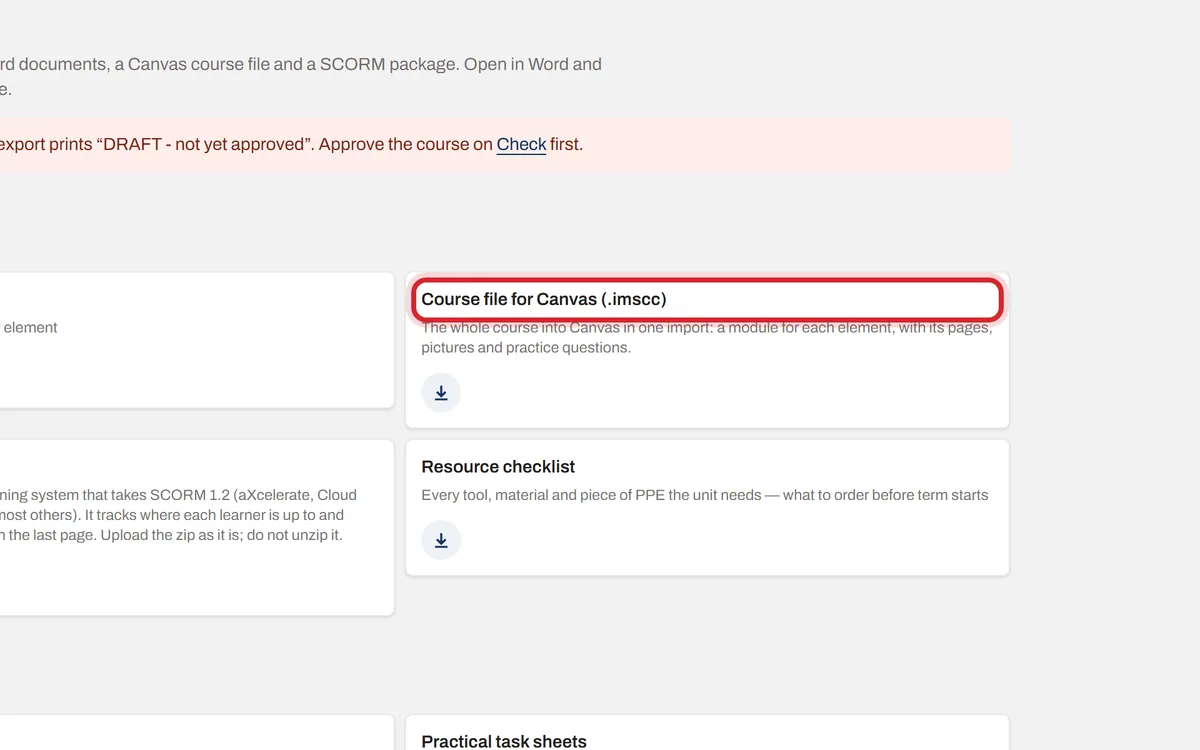
Open step 04, Export. Download the Course file for Canvas, the SCORM package for another learning system, or the Word copy. An approved course prints its version, approver and date on every export.